Spotlight on Upcoming User Experience Changes
Here at Civix we work hard every day to ensure that EM Grants Manager remains the industry leading Grants Management Software solution. This involves constantly expanding the available features and functionality of the system, while ensuring that the user experience remains simple, intuitive and enjoyable. We also work to ensure that we meet the various accessibility needs some users may have.
To further improve user experience and accessibility requirements, two new updates will go live in EM Grants Manager on May 5, 2025.
What Are The Updates?
1. Easier, Direct Access to Listings
Current Process:
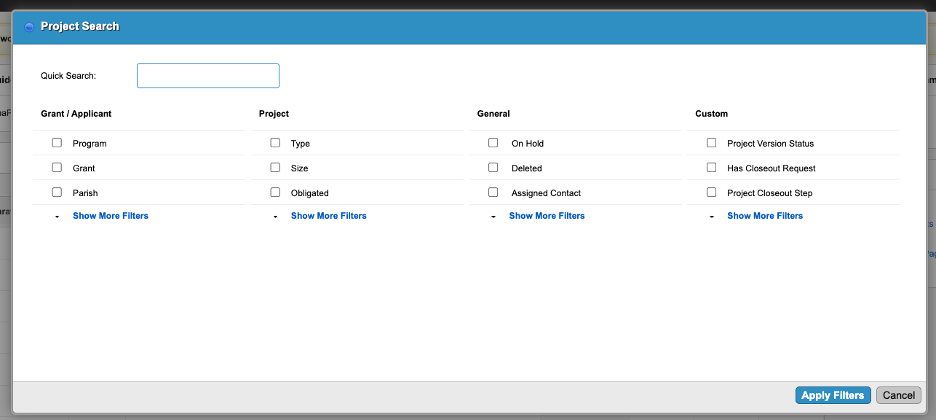
When a user clicks on any of the listings found under the menus located in the main navigation at the top of the screen, they will encounter a box where they can choose filters. This dialog box allows a user to first apply filters before generating the listing, if they want to do so (See Figure 1 below)
Reason for Updating:
This dialog box may not be intuitive or necessary to users, since most do not want to apply any filters. Industry standard typically allows the user to apply filters to a listing after they generated the listing, not before. Since most users also have user assignments in place, the results of listings are already filtered to only items within their assignments.
When a user clicks on a listing, the listing will instantly load and provide quicker and more direct access to the information they are looking for. Filters can still easily be applied by clicking on the “Filter” button.
FEATURE HIGHLIGHT
Using “Presets” to create custom listings:
If you often apply the same filters to listings, you can use the Presets function to save time and significantly reduce the number of clicks needed to generate the desired listing. You can set up multiple customized Presets to make it even easier to find what you’re looking for.
Let’s look at how to create a Preset:
- Once on a listing, click on the Filter button to open the set of filters available for that listing.
- Select the filters and values you would like to use.
- Click on the blue Apply Filters button.
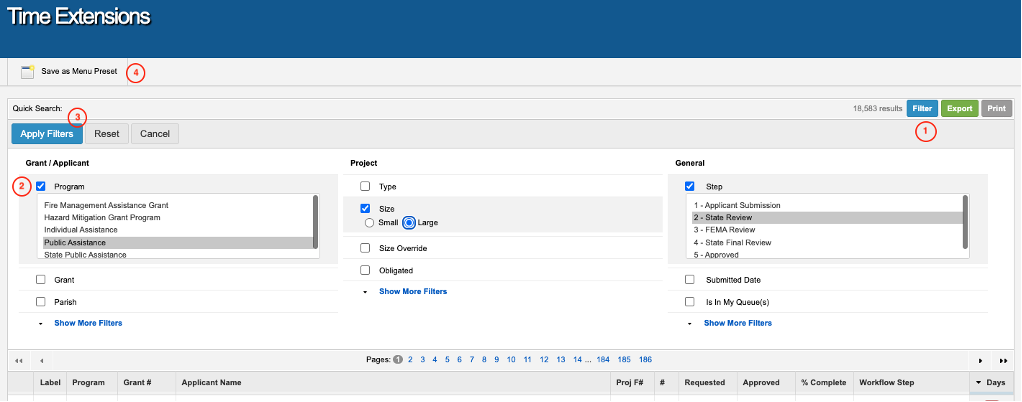
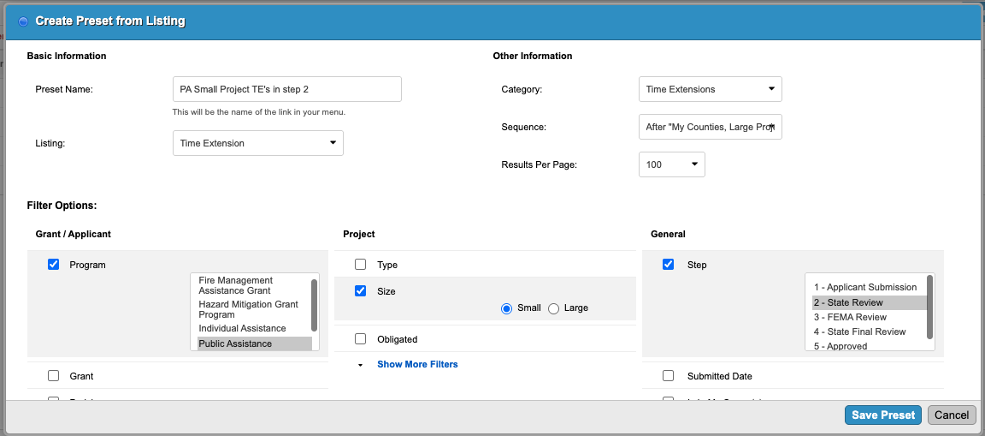
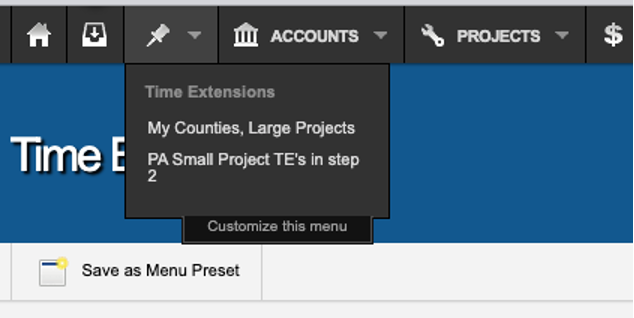
4. Click on the “Save as Menu Preset” button located on the Action bar. You can then customize a name for the preset, create/select a category for where you would like to add the preset, and decide on the order in relation to any existing presets.
You can find all your Presets by clicking on the Pin icon located on the main navigation bar at the top of the screen.
2. More Recognizable Buttons on Listings
Current View:
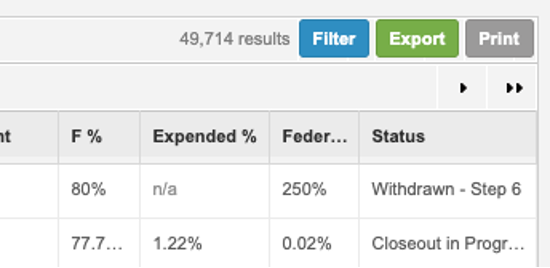
In the top right corner of a listing, there are three icons for Filter, Export and Print functions.
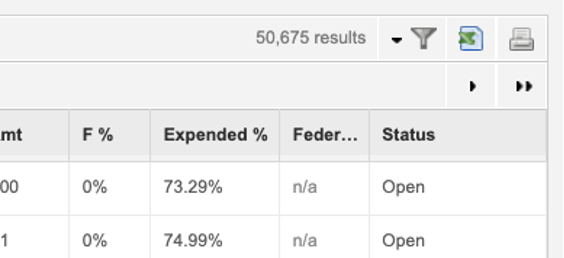
Future View:
To improve user accessibility, create more intuitive navigation and be more recognizable to users new to the system, the icons will be replaced by three buttons with clear labels for each.